I recently found a file on Thingiverse called Soul Skull. It was pretty much a perfect fit for an item I could see used in one of our D&D campaigns as the vessel of a undead lich currently mentoring one of the characters. But for that, I would need a good paint job. This is a show-and-tell about this paint job.
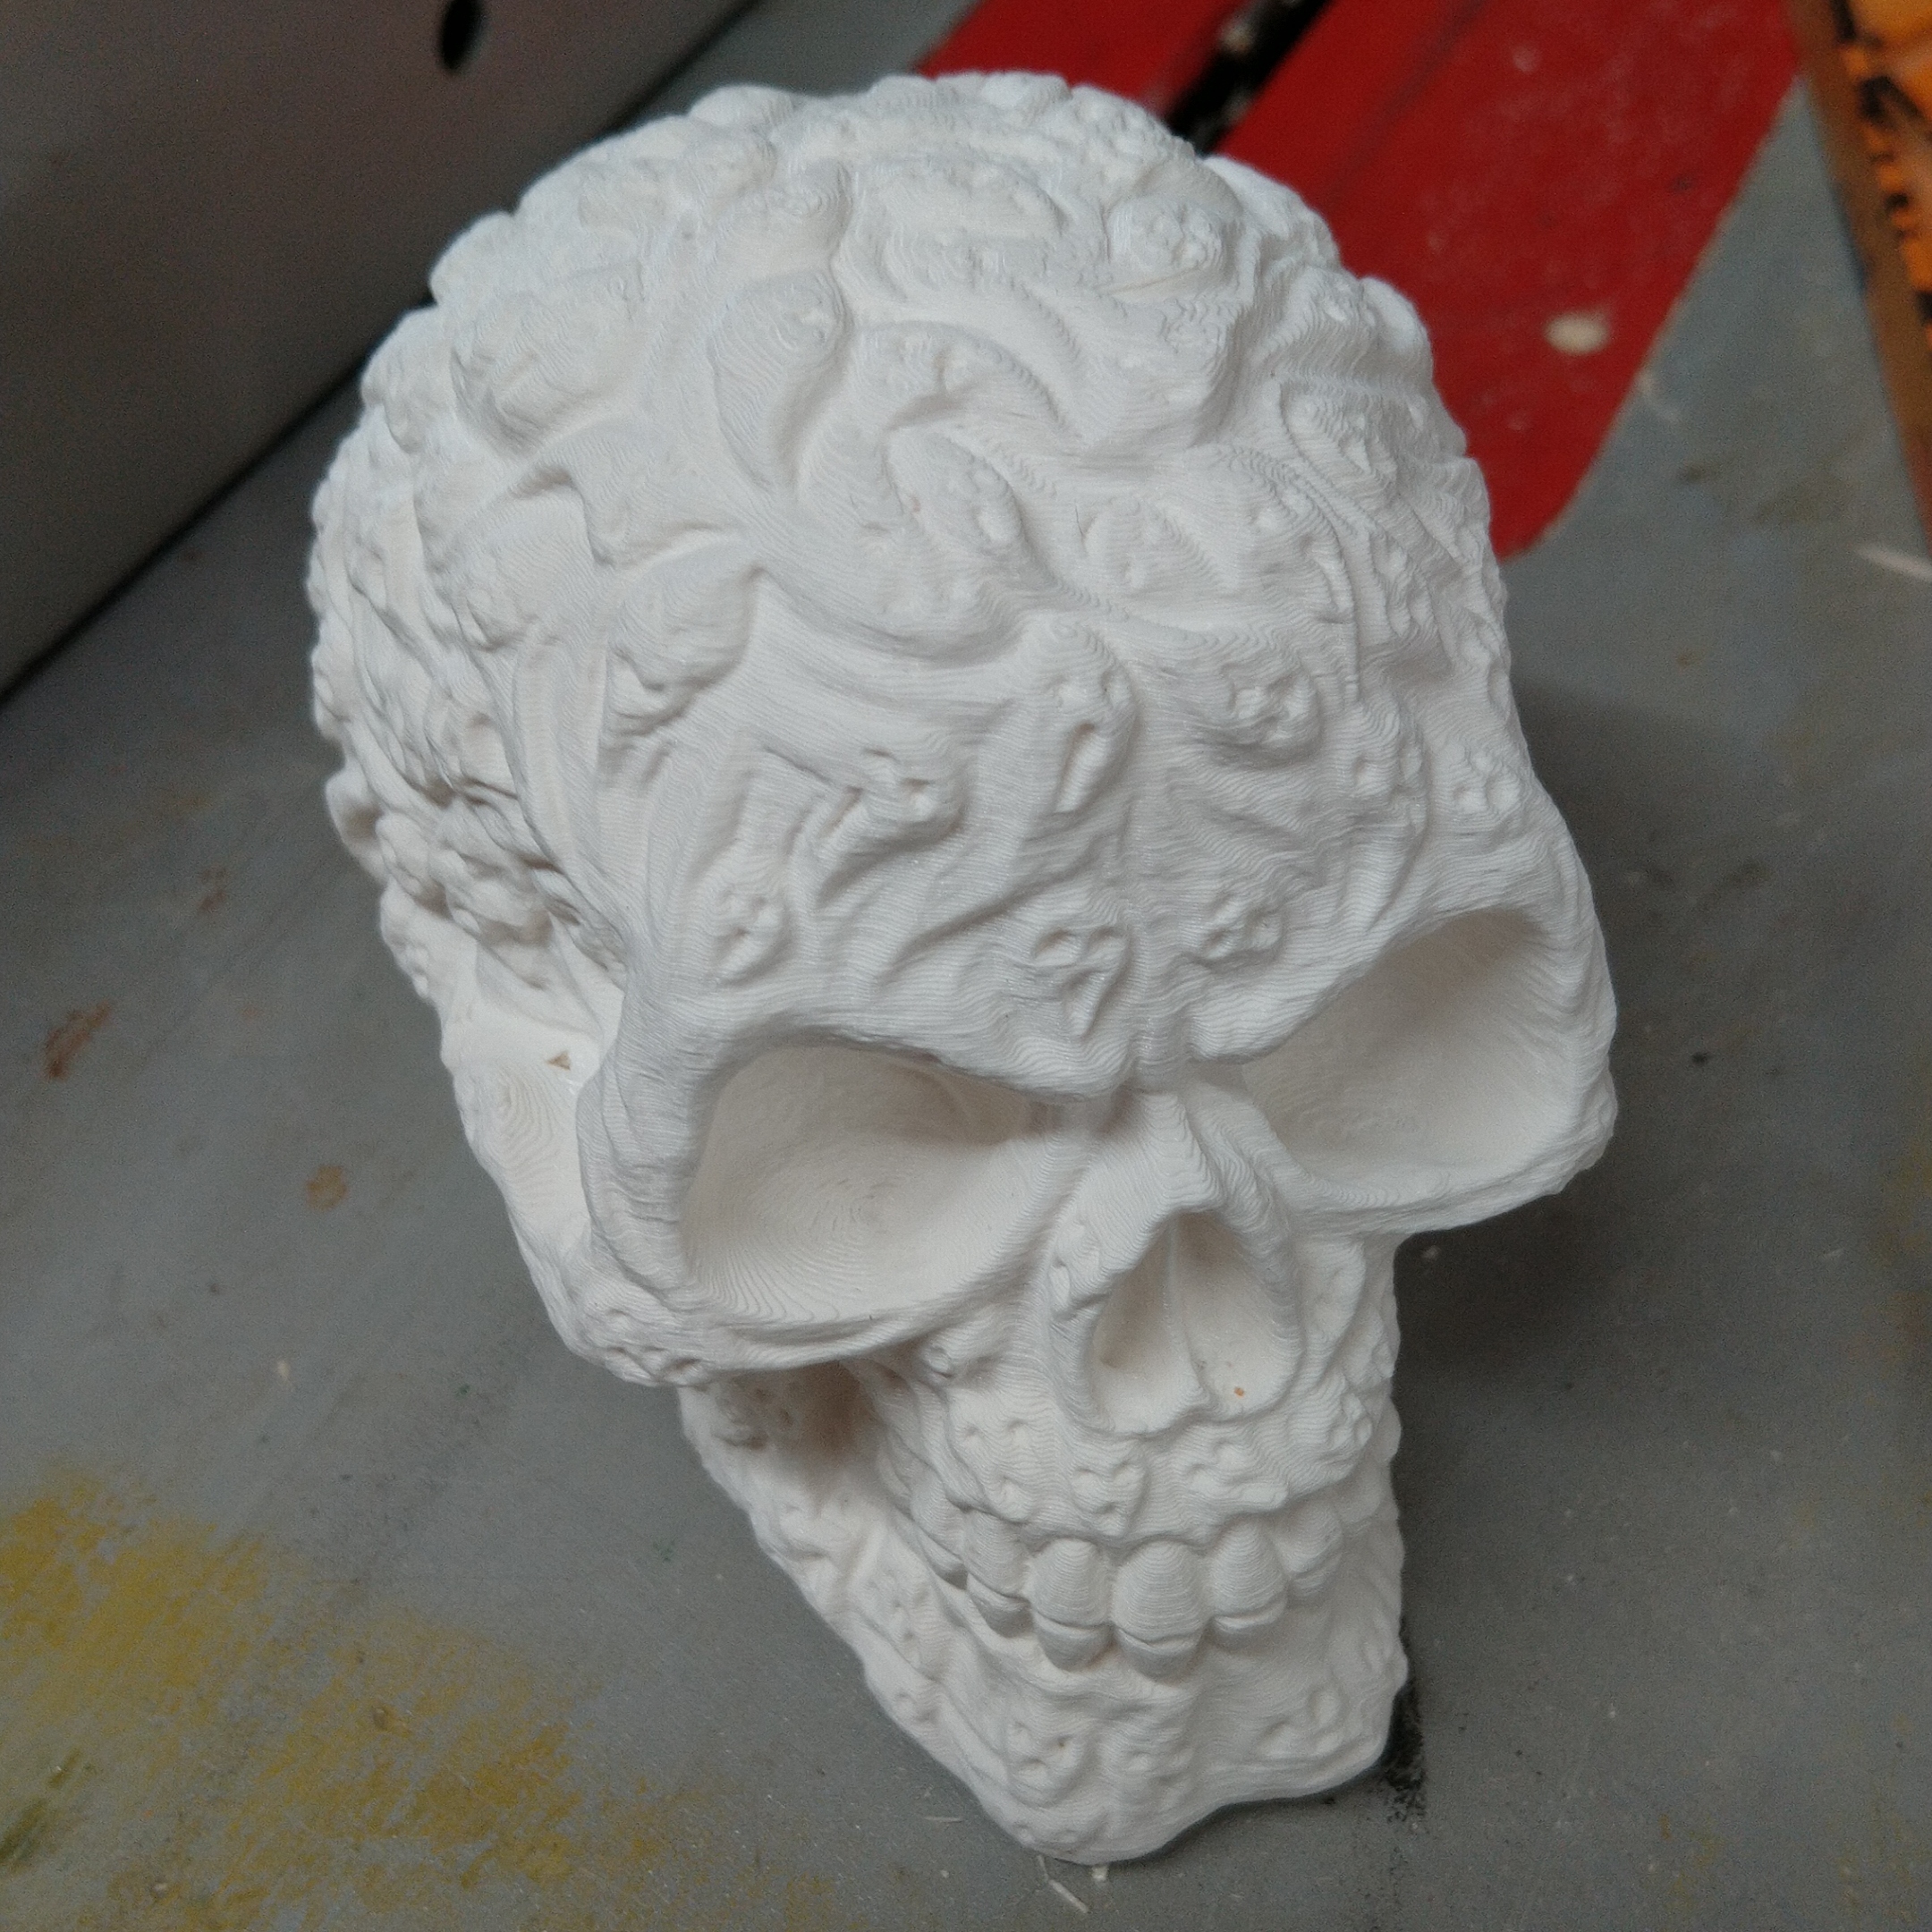
To cover the technicalities, I downloaded the free model and printed it with supports on the print bed, using a layer height of 0.2mm. I chose white PLA, mainly for the very compelling reason that this was what I had loaded in my 2d printer at the time. Other filaments work just as well, but I knew I would slather it with paint later anyway.
First Step – Copper Bone
First of all, I apologize – no pictures of this step. I started out with a solid layer of ivory spray paint. At this point, this would probably have worked as a normal skull, or as an artistic rendition, but I wanted more. Not to mention that it looked way too pristine like that. Nowhere near arcane artefact Soul Skull use level.
For the next step, I picked out a shop rag. Then, I added copper effect spray paint and quickly wiped most of it off using the rag. Which is the reason why you really should have it handy before adding the paint – it dries quickly. I repeated that process up to the point where I overdid it – the copper paint dissolved the ivory layer and I took both off with the rag.
I reverted to a good layer of ivory and let it dry thoroughly before repeating the copper-wipe treatment. I also gave that layer more time to harden before I repeated it. I think this helped a lot hiding the layer lines, even though the amount of paint was in no way planned. In turn, it also made it a lot harder to identify all the mouths and eyes later.
Second Step – So many Eyes
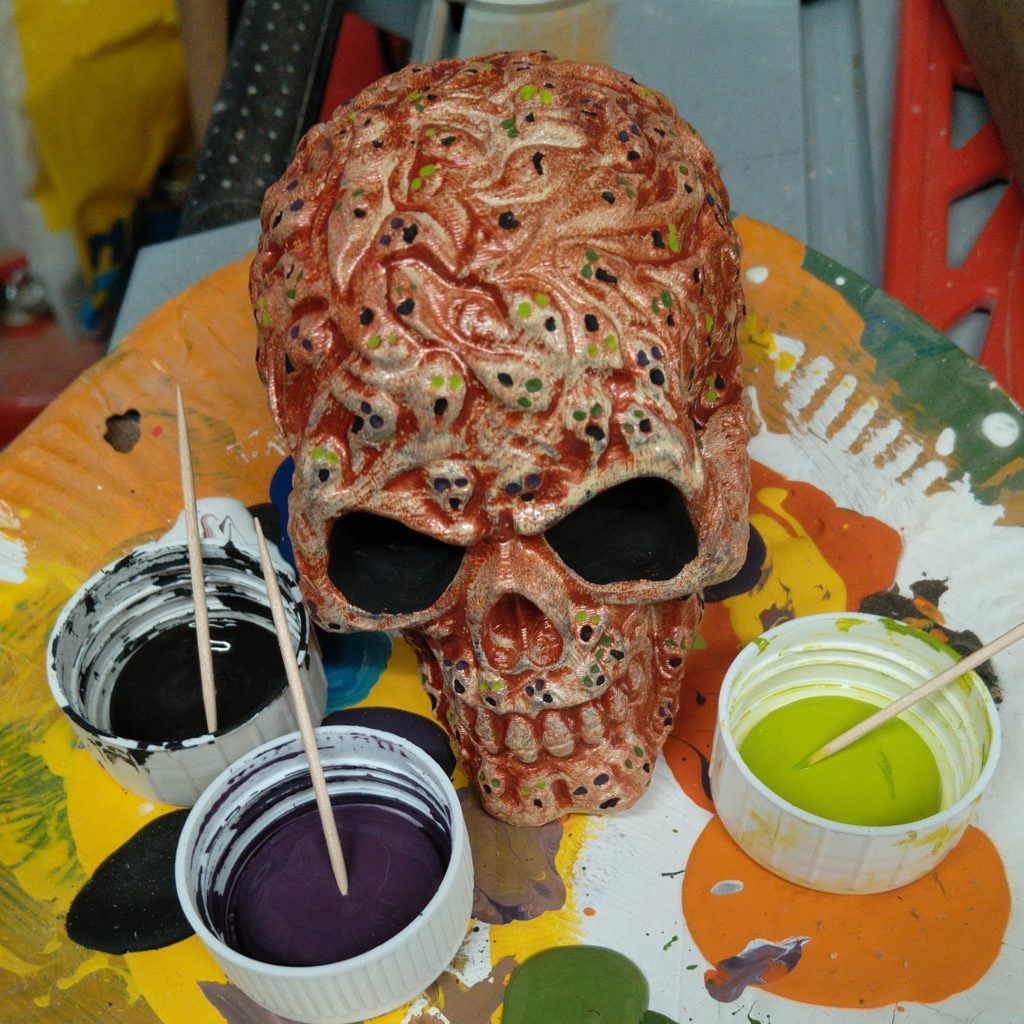
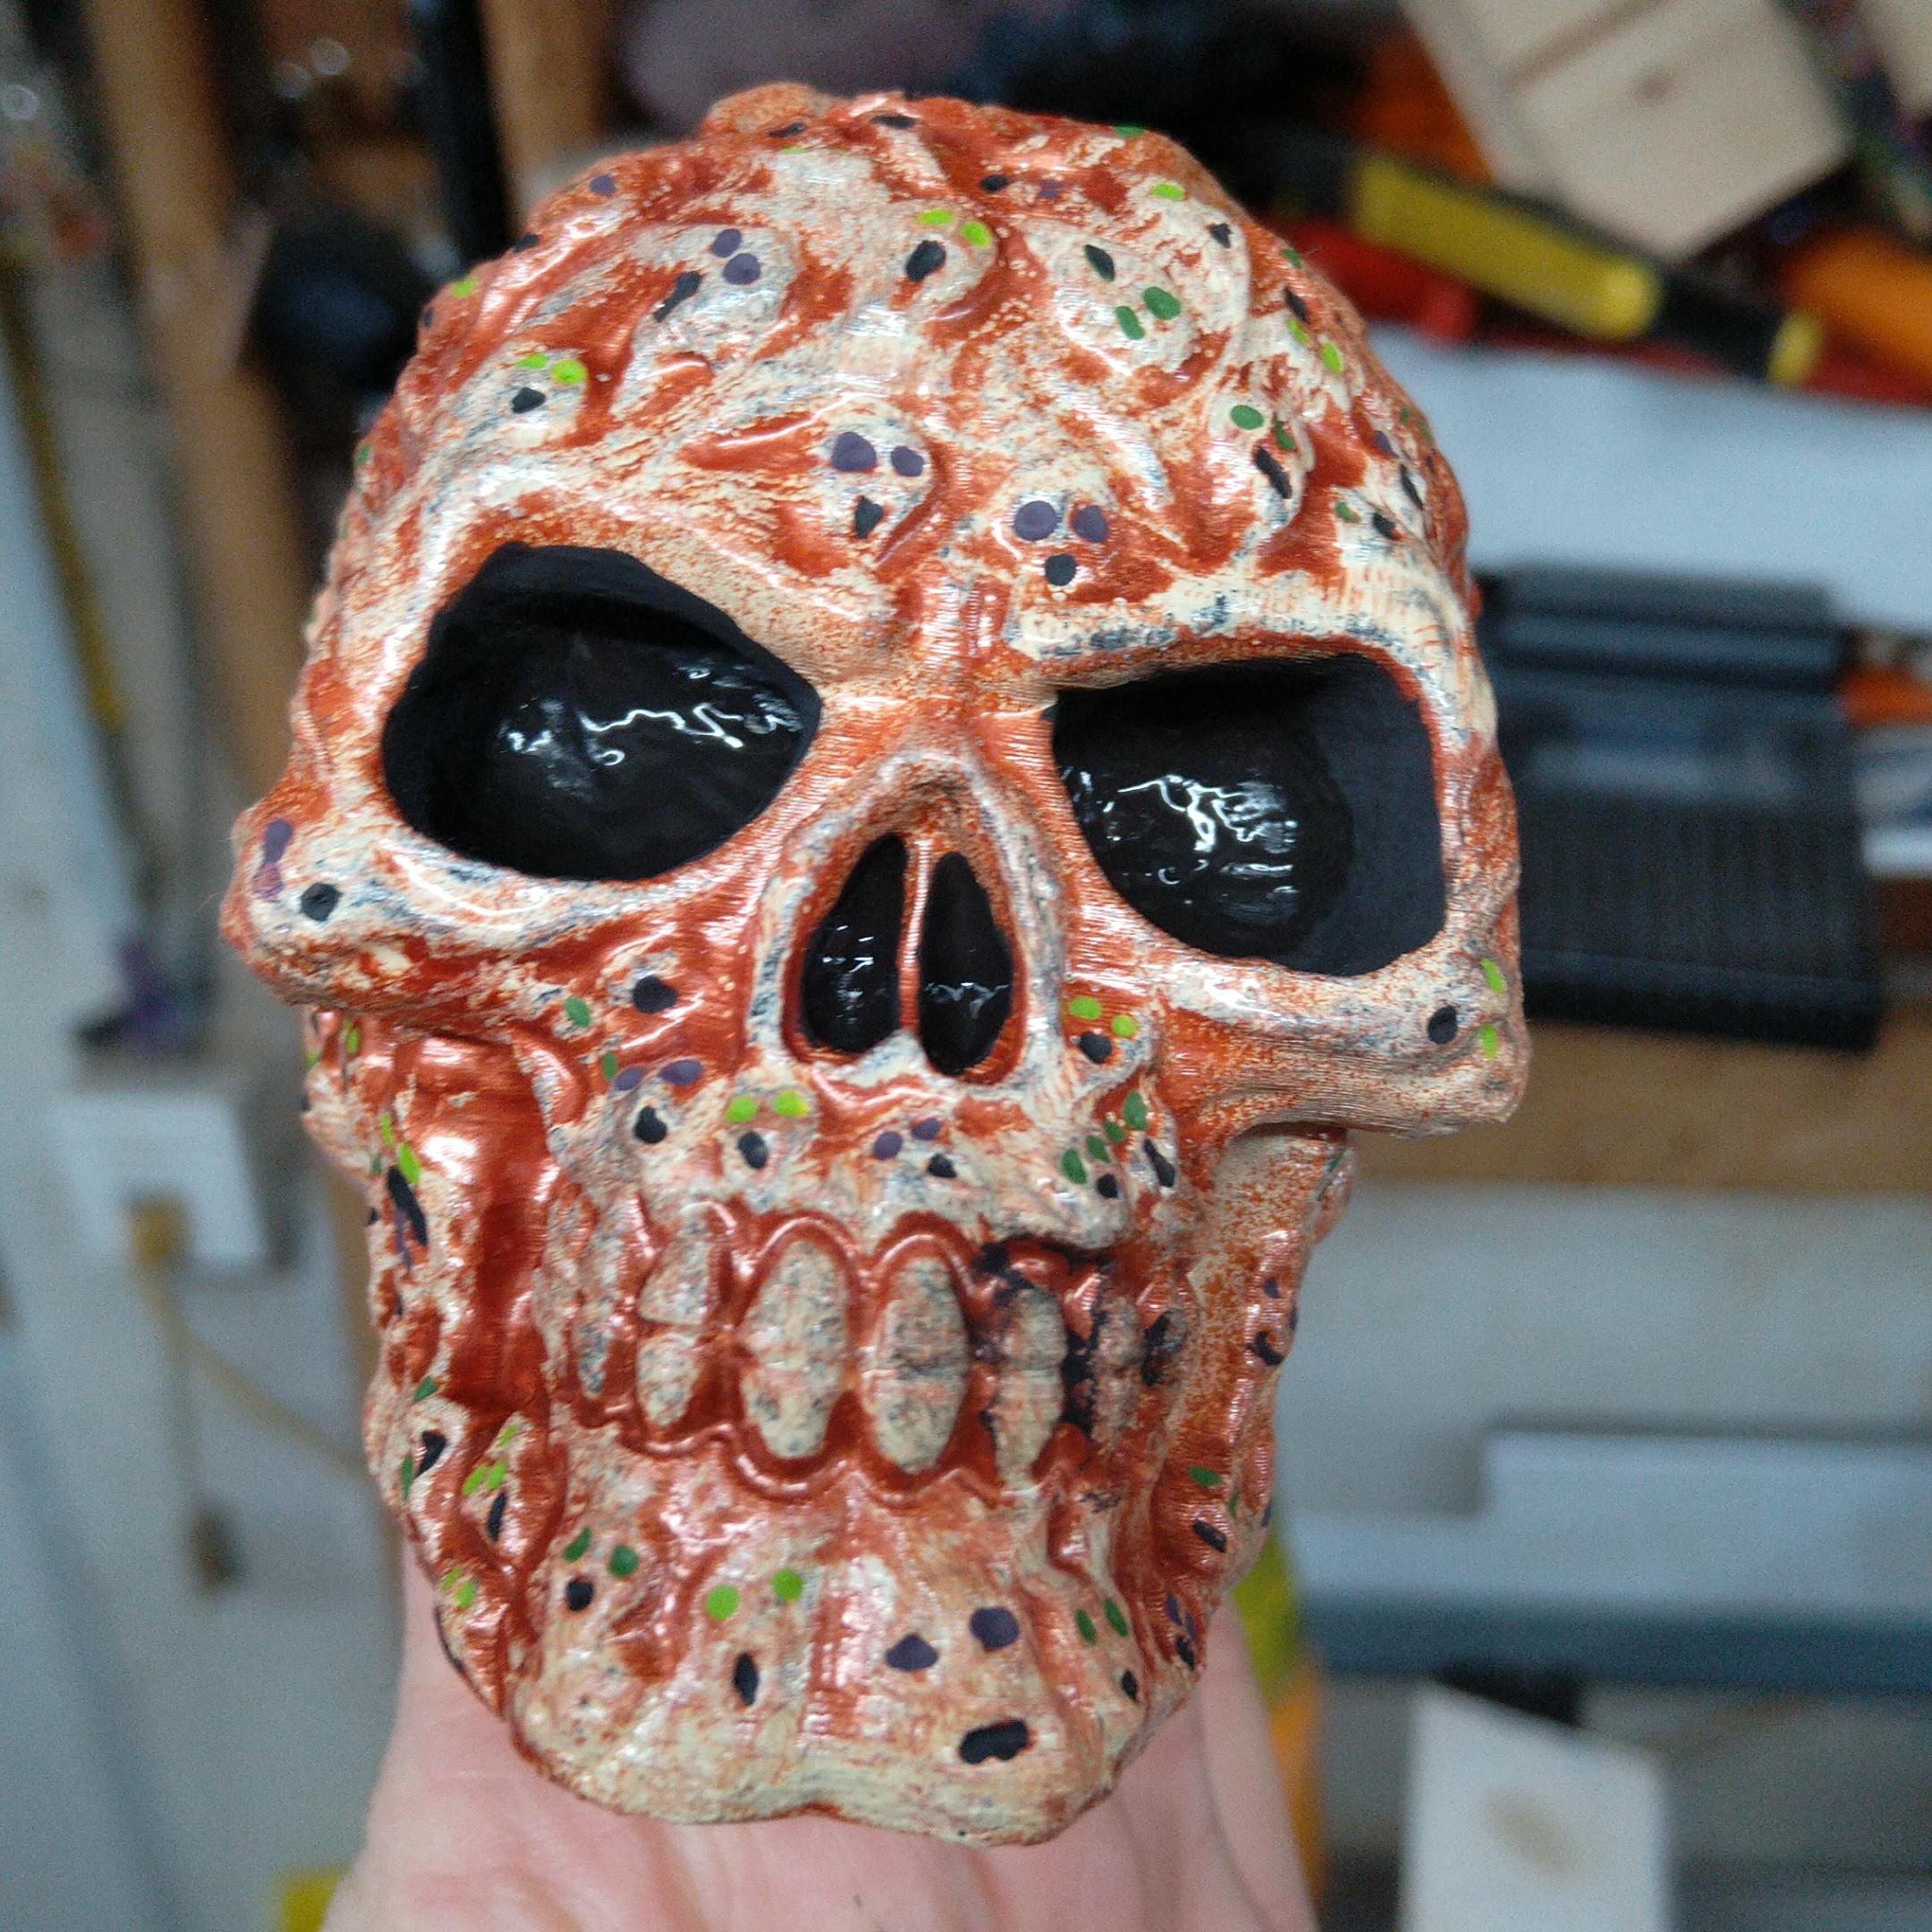
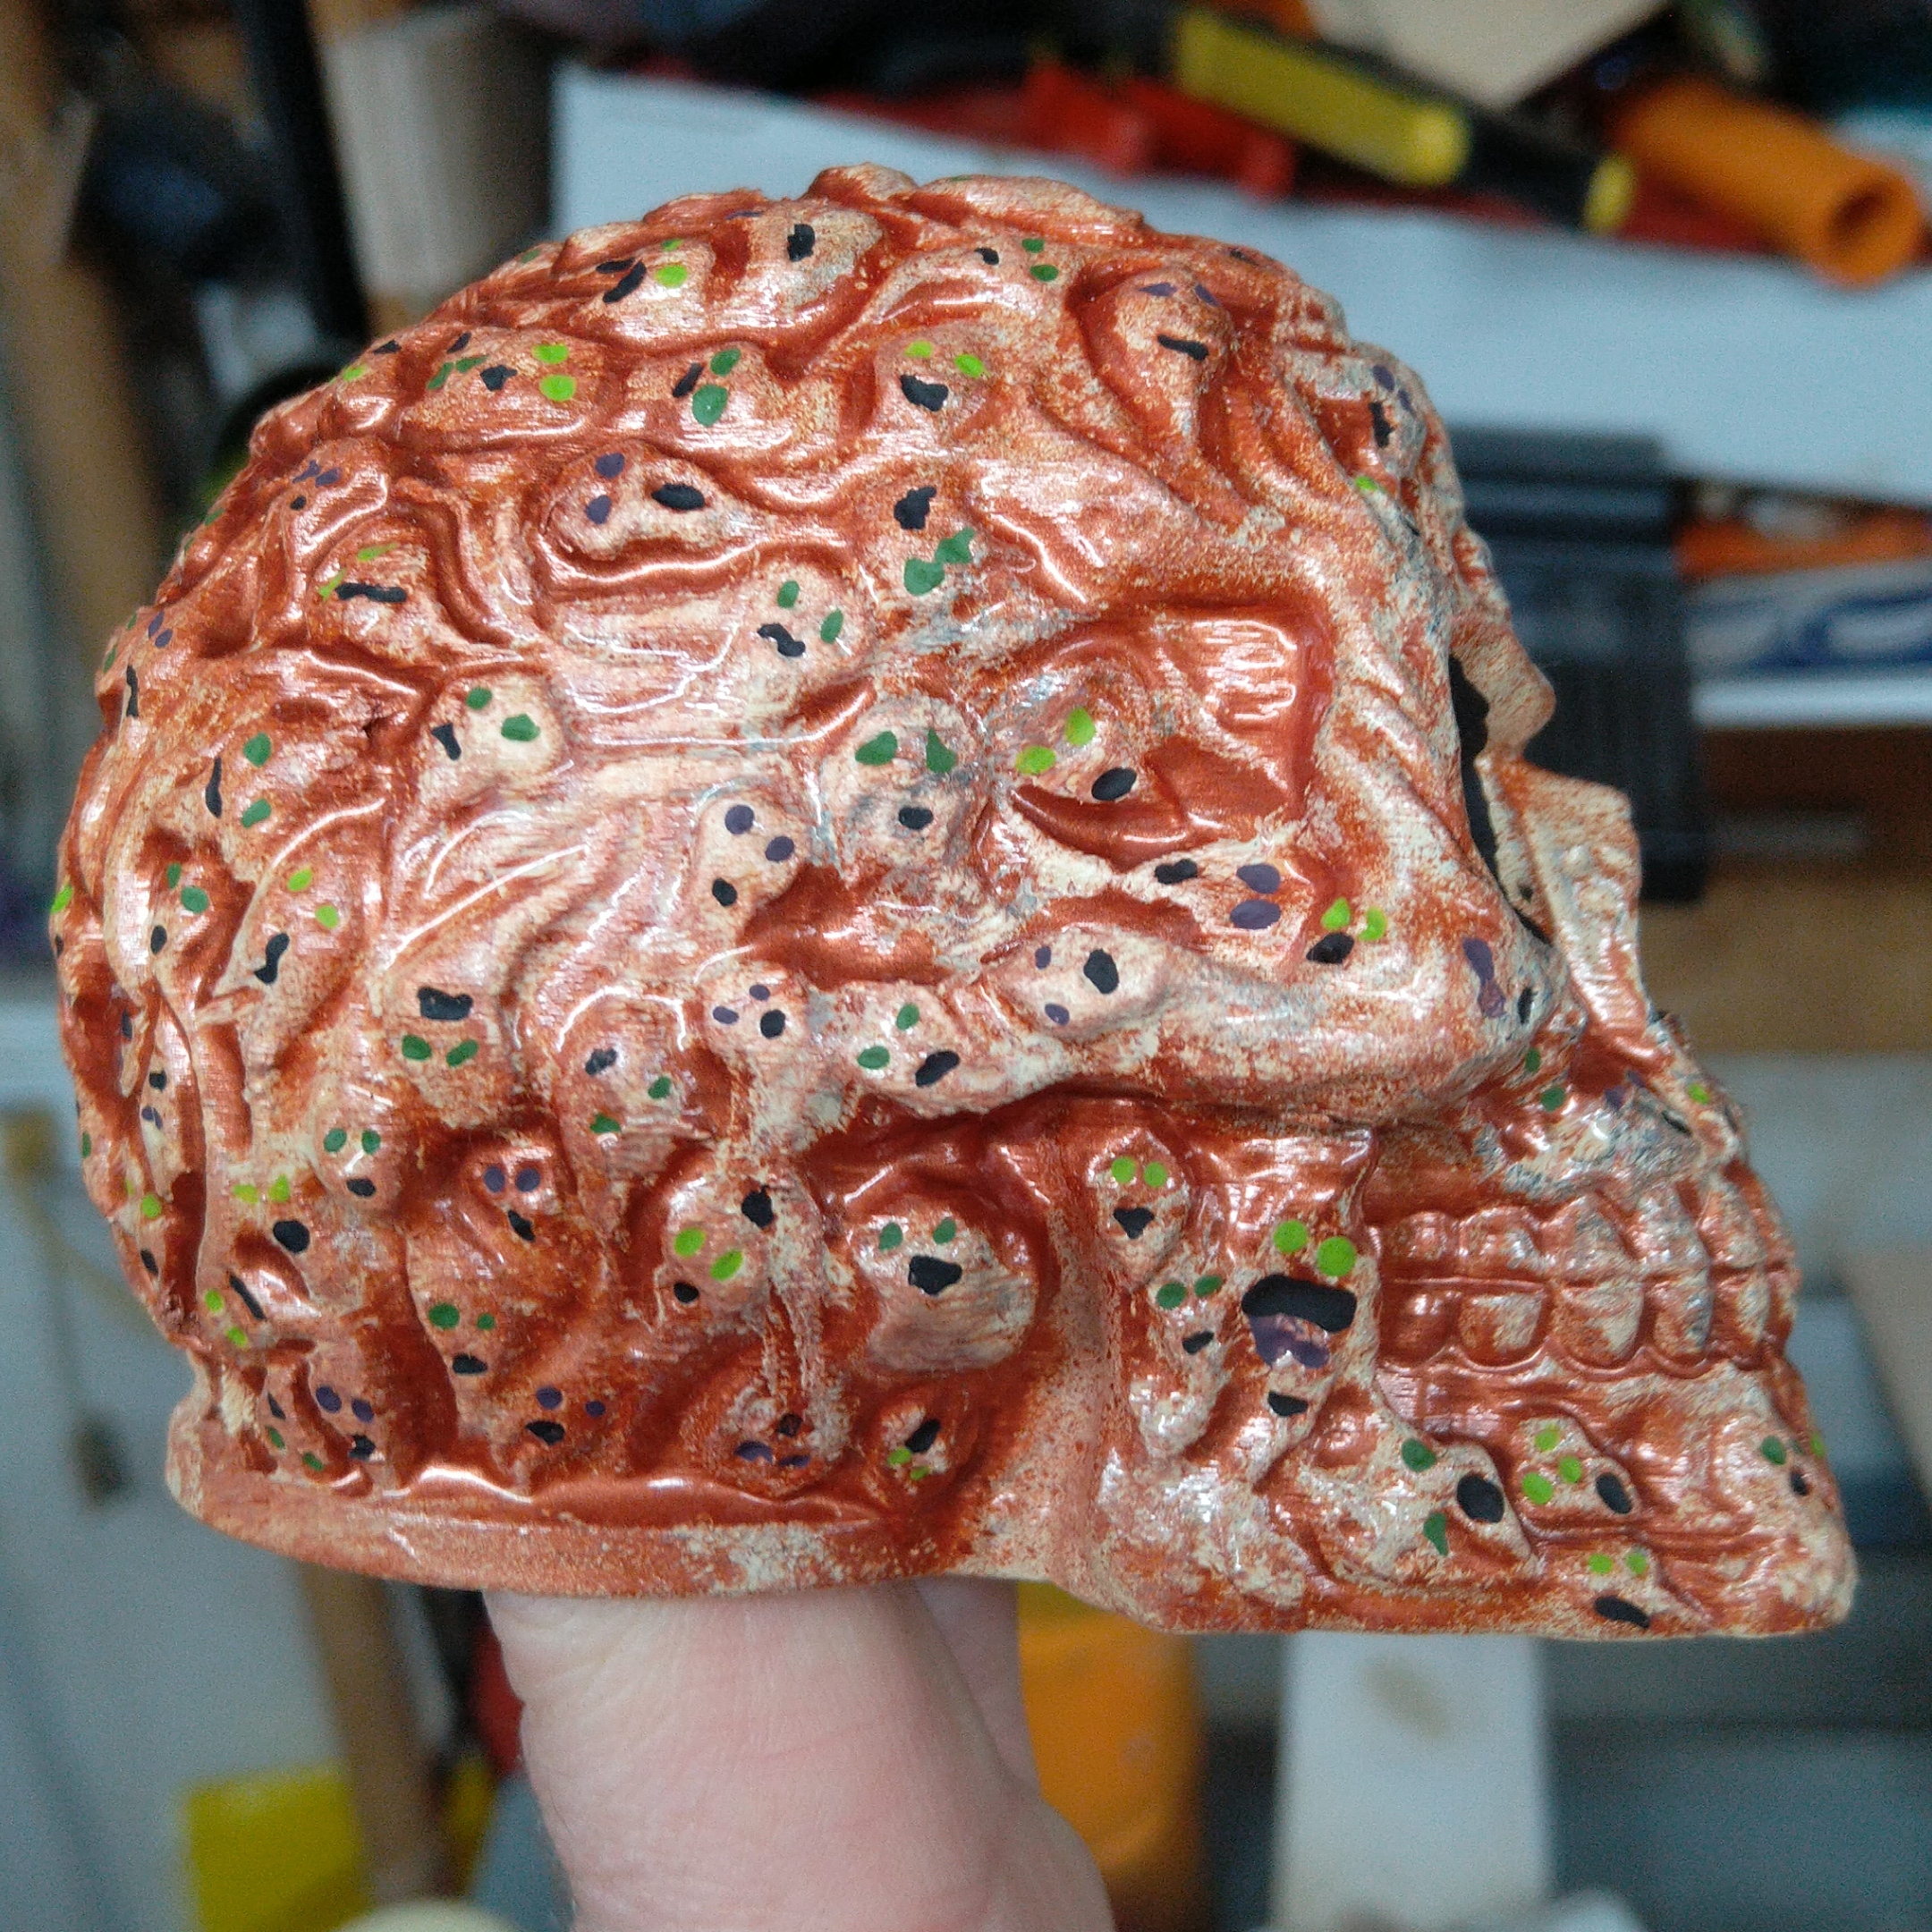
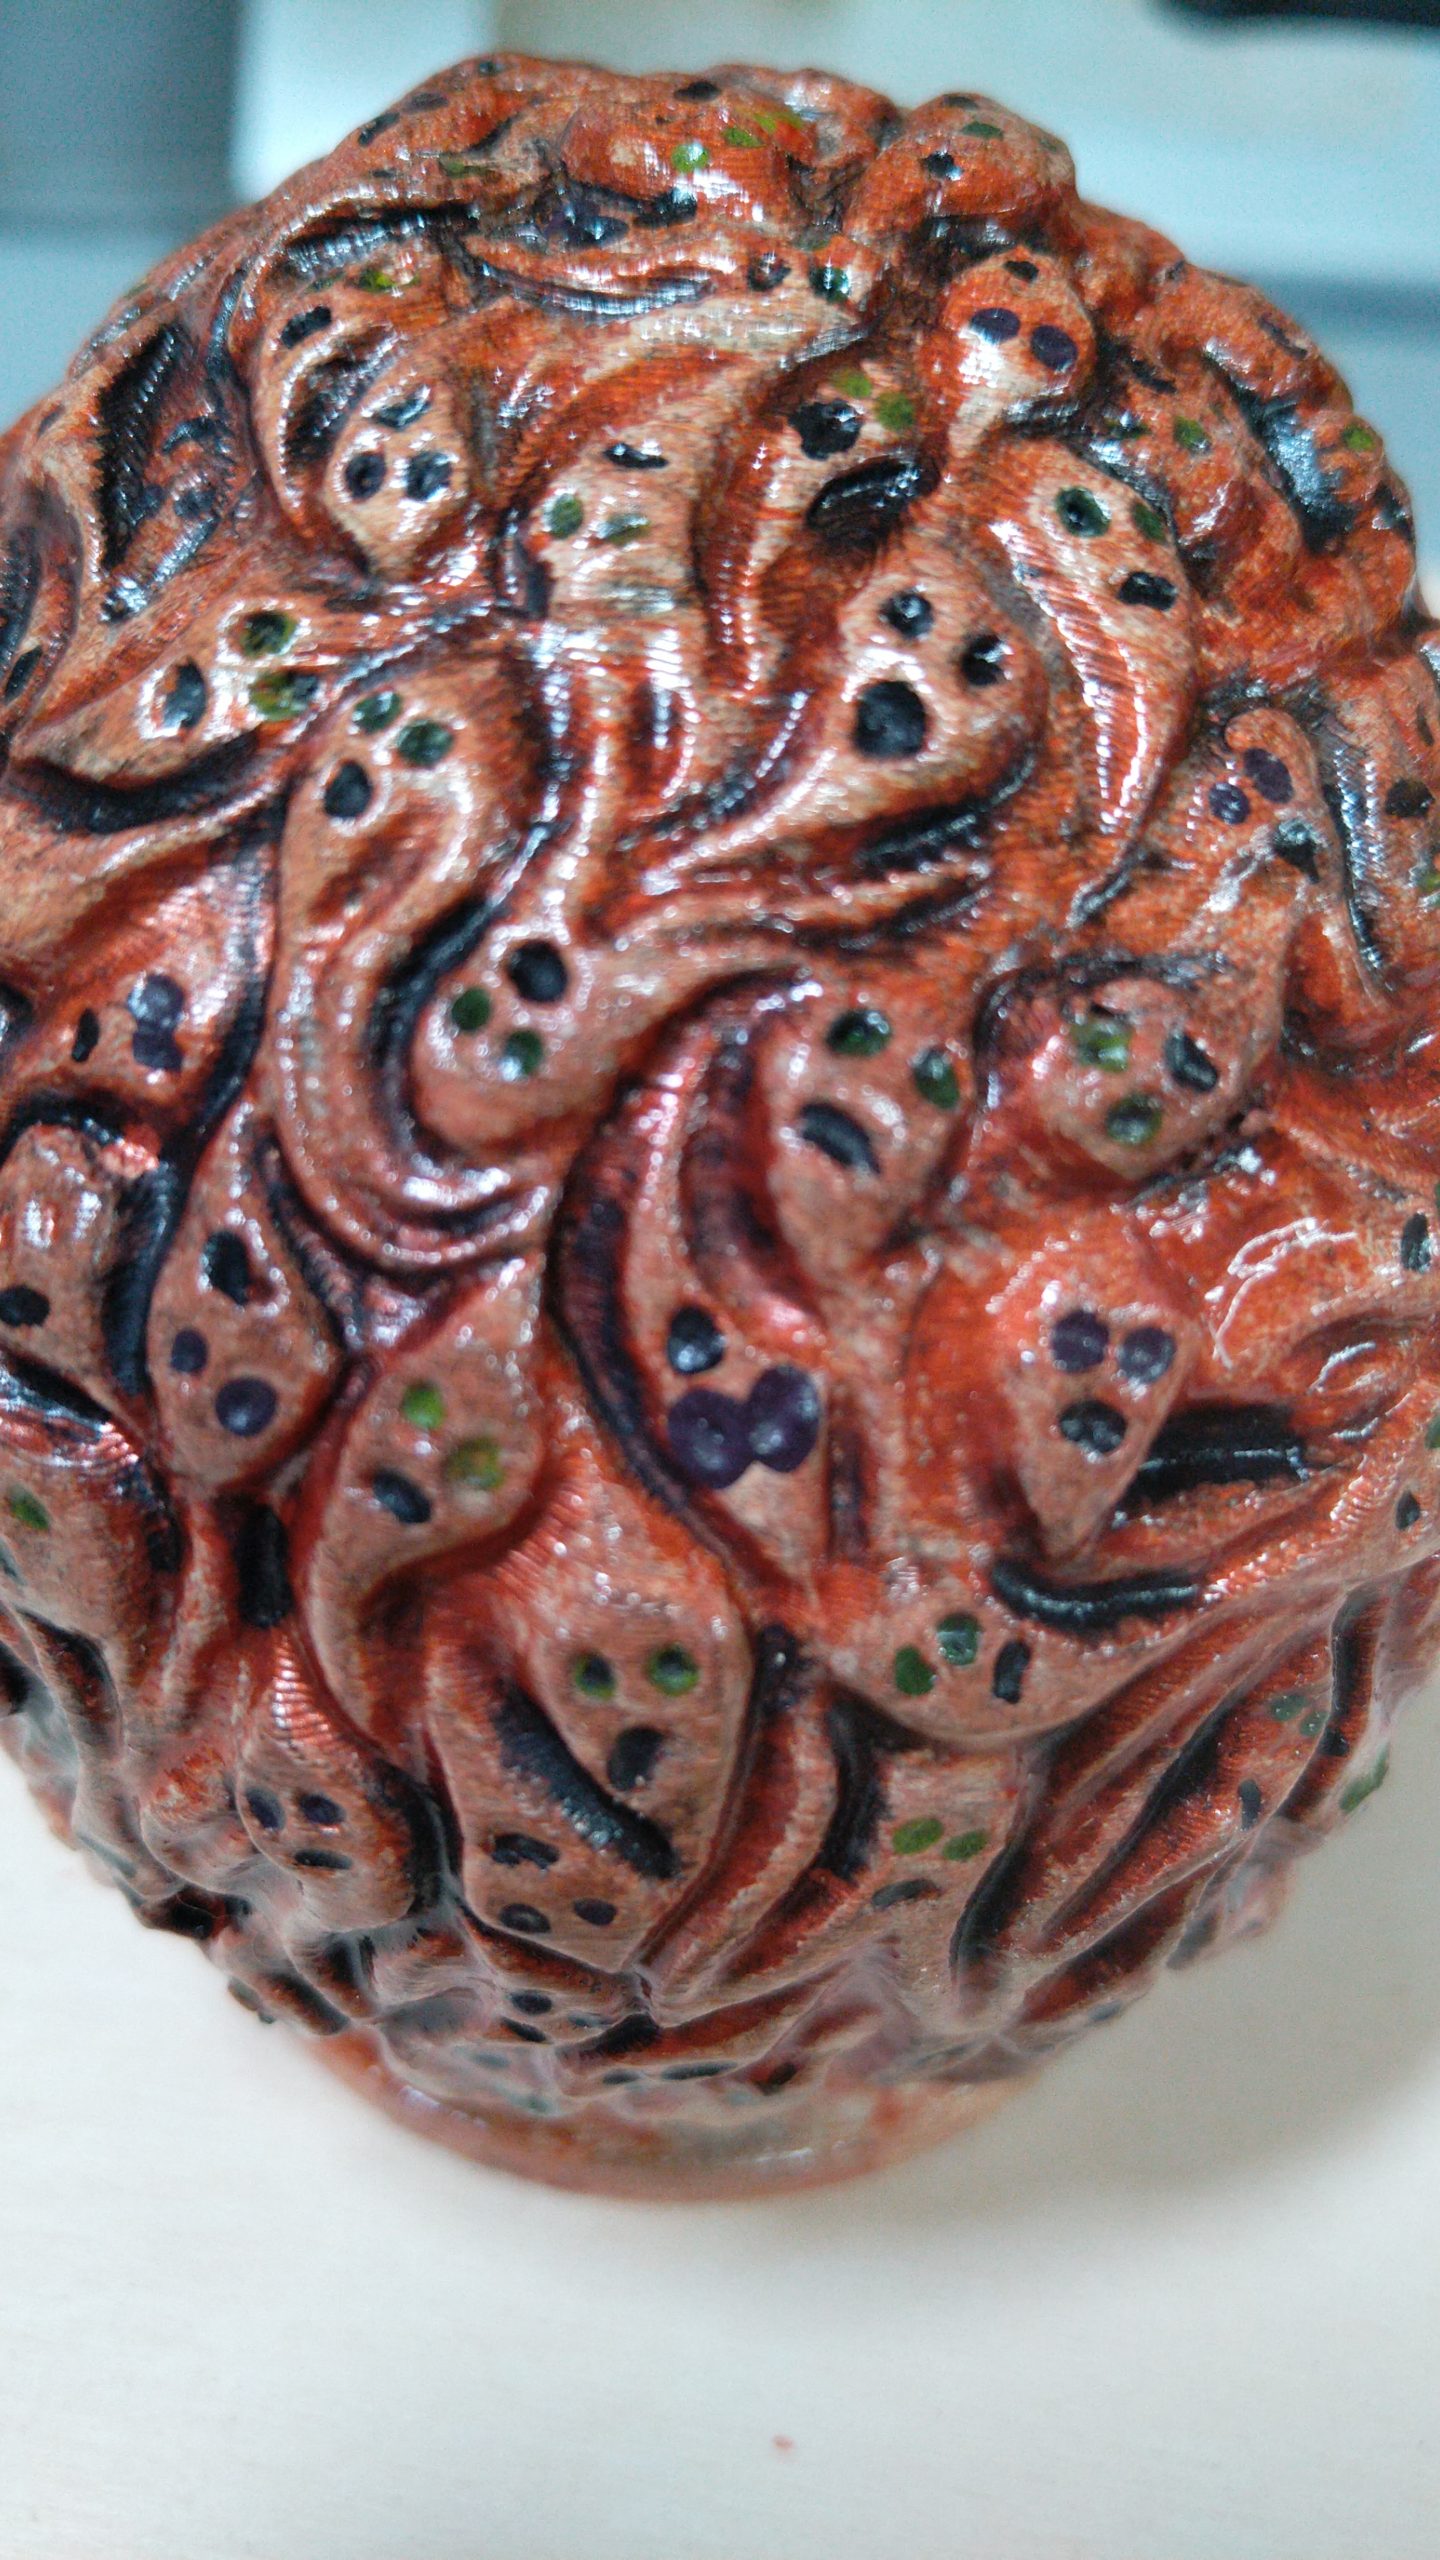
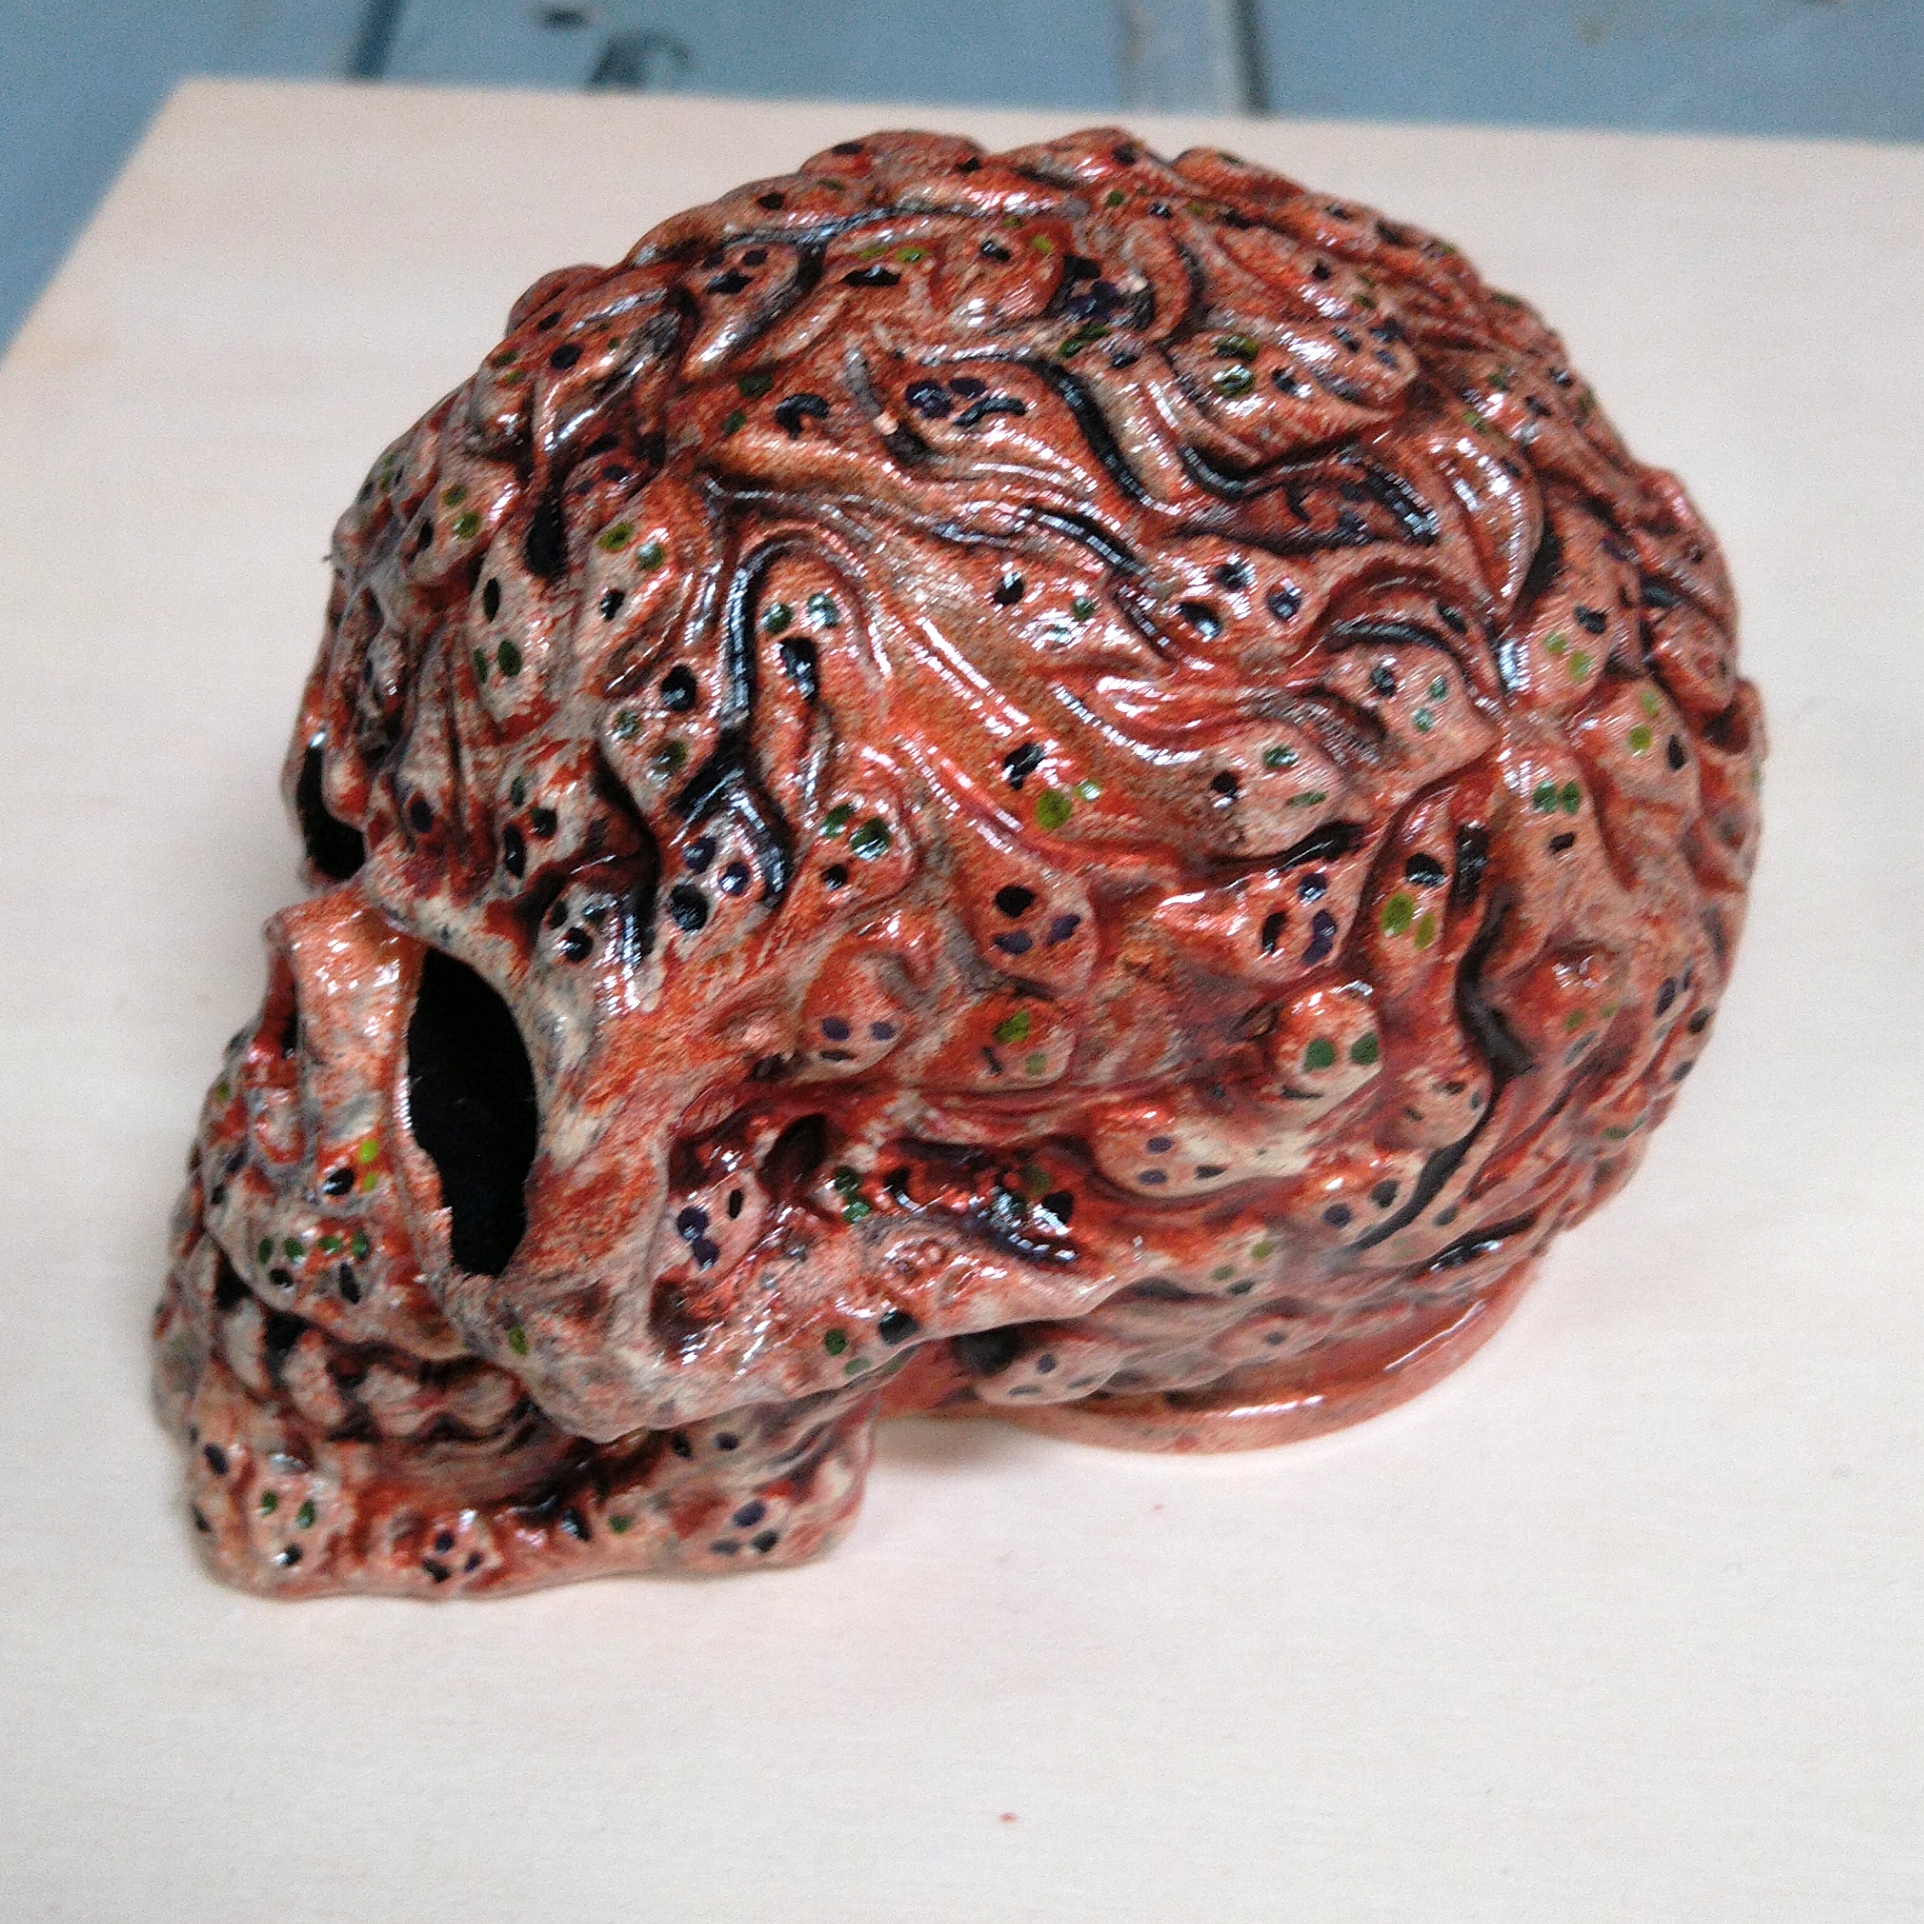
The most distinctive feature of this Soul Skull are, of course, all the tiny souls. To accentuate them, I busted out four toothpicks and started painting the details. I chose black for all the mouths and three colors for the eyes – purple, light green and dark green.
Toothpicks are great for that because they carry enough paint for one or two eyes without much risk of “overloading” and spilling. In addition, I can just use the paint bottle caps as paint reservoir. Only the dark green had a different kind of bottle so I put that directly on a paper plate.
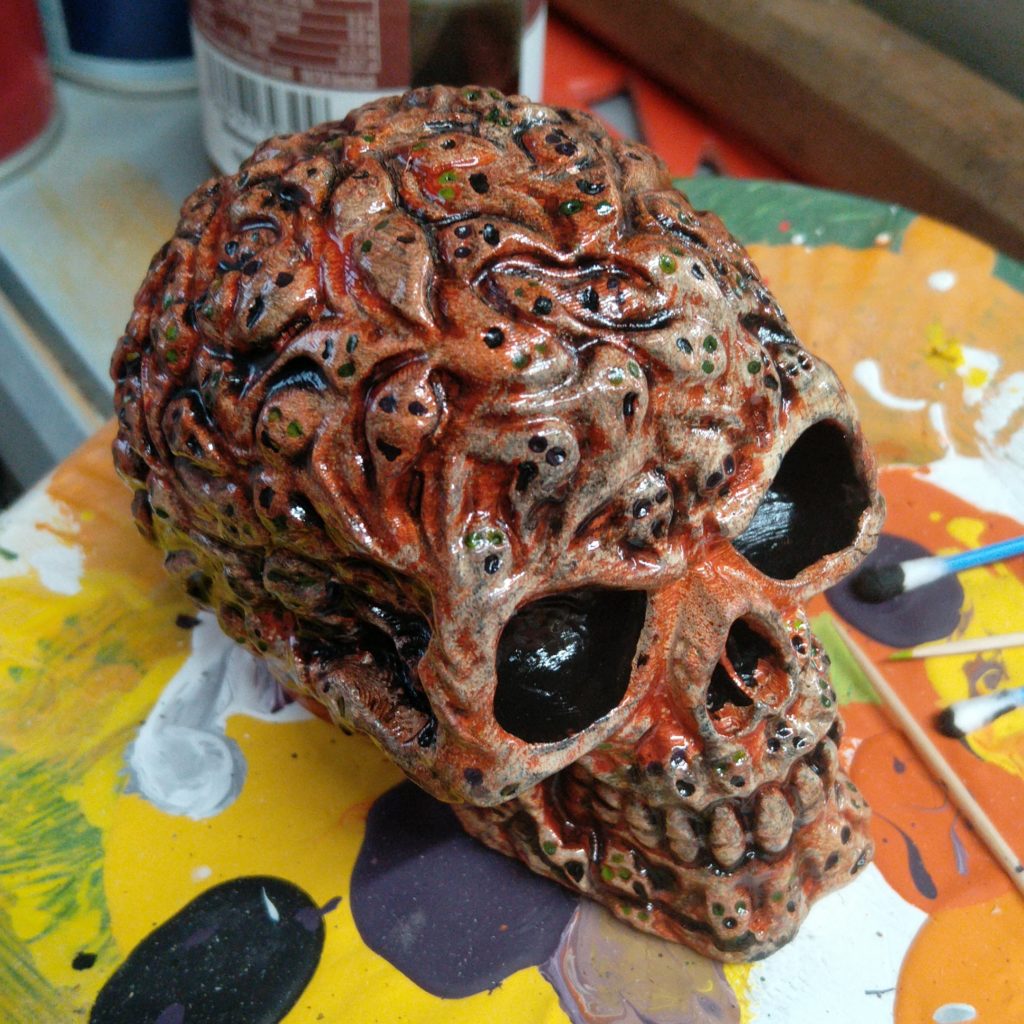
Third Step – Black Soul Skull Wash
I do not have proper “after” pictures for this step, just the final ones in the last step. But what I did was pour some black paint into a cup and add about the same amount of water. Using a large brush, I slathered the whole skull, then took off most of the paint using the rag from before. The black stayed in the crevices much better than the copper did before.
While I ran the risk of covering all the carefully hand-painted eyes with black, I found that the rag cleared most of them, leaving more of a light shadow instead of a complete cover. Again, I repeated that process until most parts of the skull were properly washed.
Fourth Step – Make it Shine
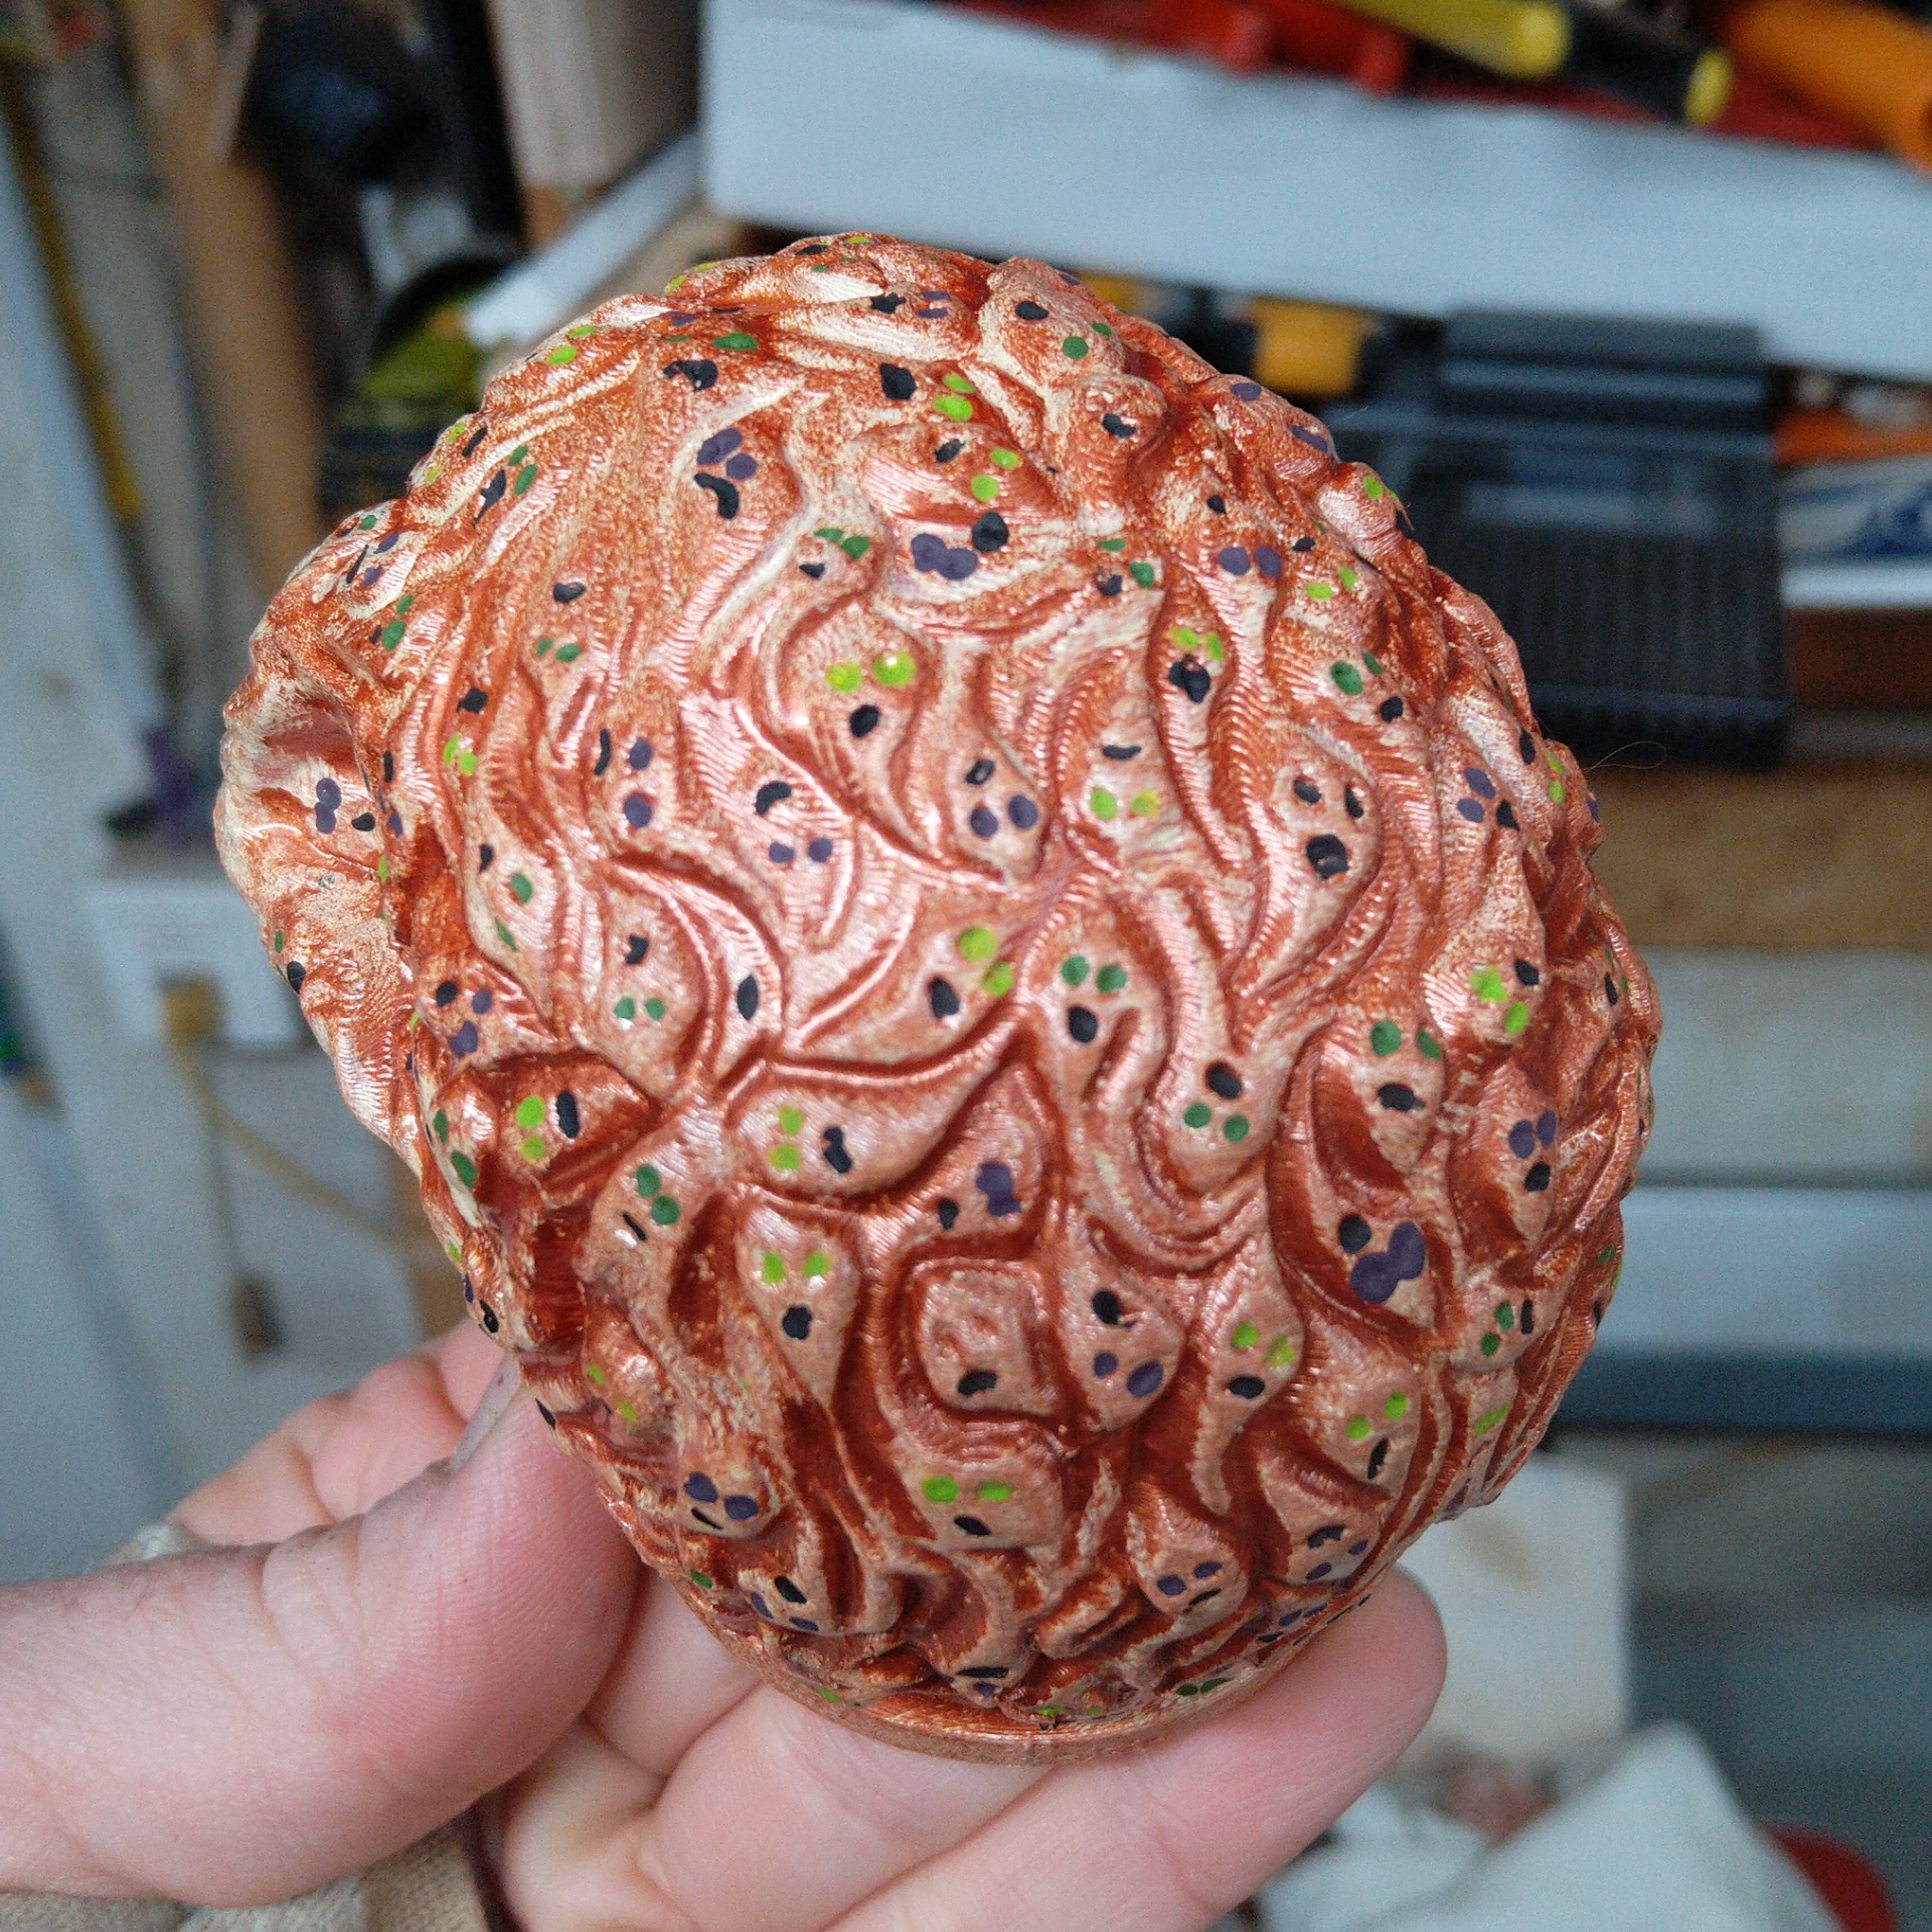
This last step was the easiest – a decent layer of high gloss spray paint. I intentionally overdid it at this point. Adding more than you should for a single layer helped smooth out the surface further and give the eyes additional sheen. The final piece looks very smooth and shiny – just like a lich should.

Soul Skull Done!
I hope this inspires you when it comes to painting your own prints. While you can overdo it, you can always take a step back and go back to a previous layer. It is not quite ctrl+z, but as close as you can get when it comes to painting.
If you enjoyed this you should check out my Roleplaying content over on WalkingPapercut.com. You can also check out my other projects – most of them come with videos and are somewhat weird!
Thanks for stopping by, and remember to Be Inspired!
Inspire your inbox!
Subscribe and never miss a project!
Thank you for subscribing!
Something went wrong...